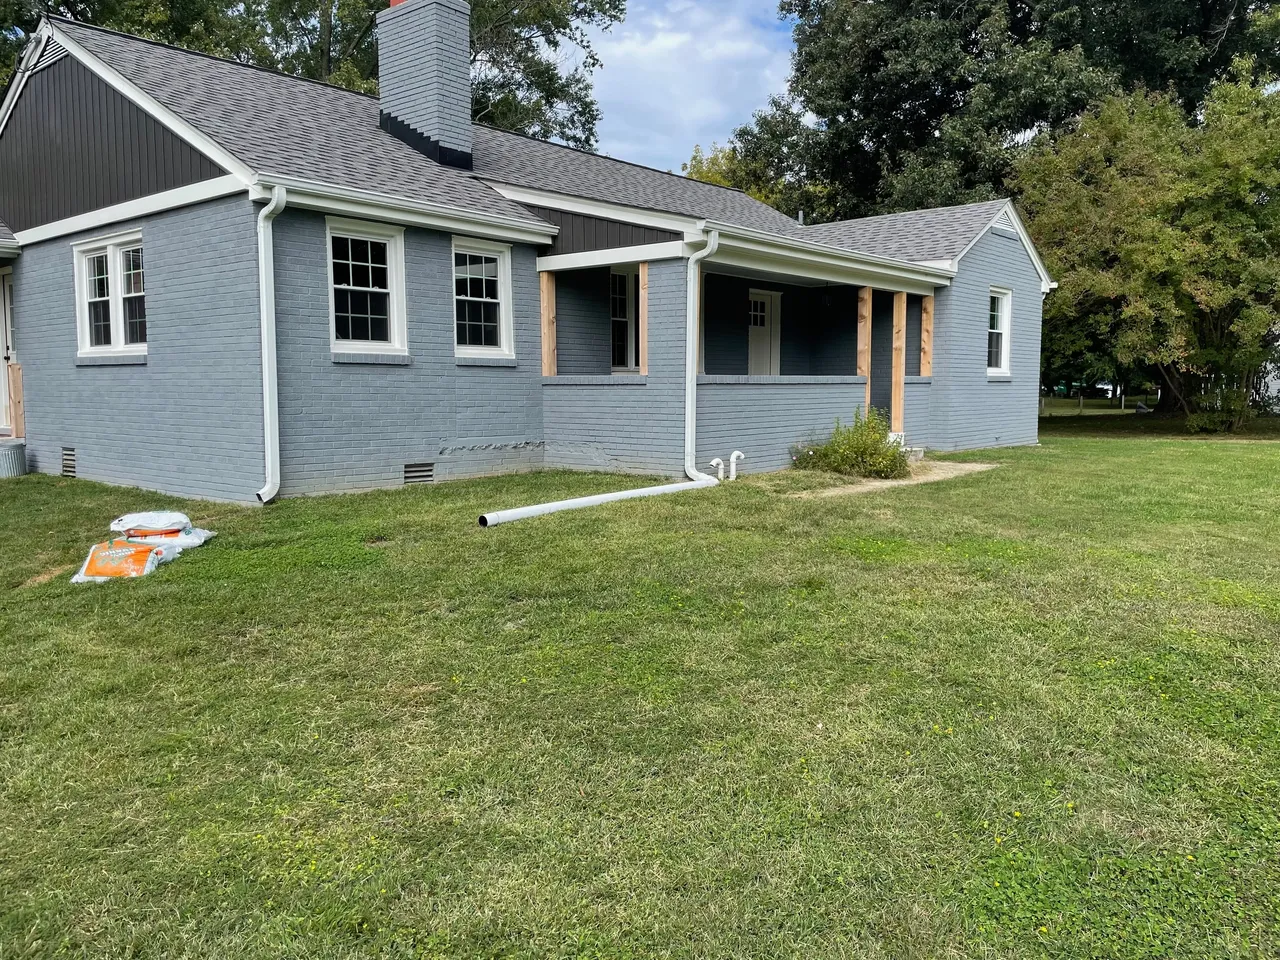
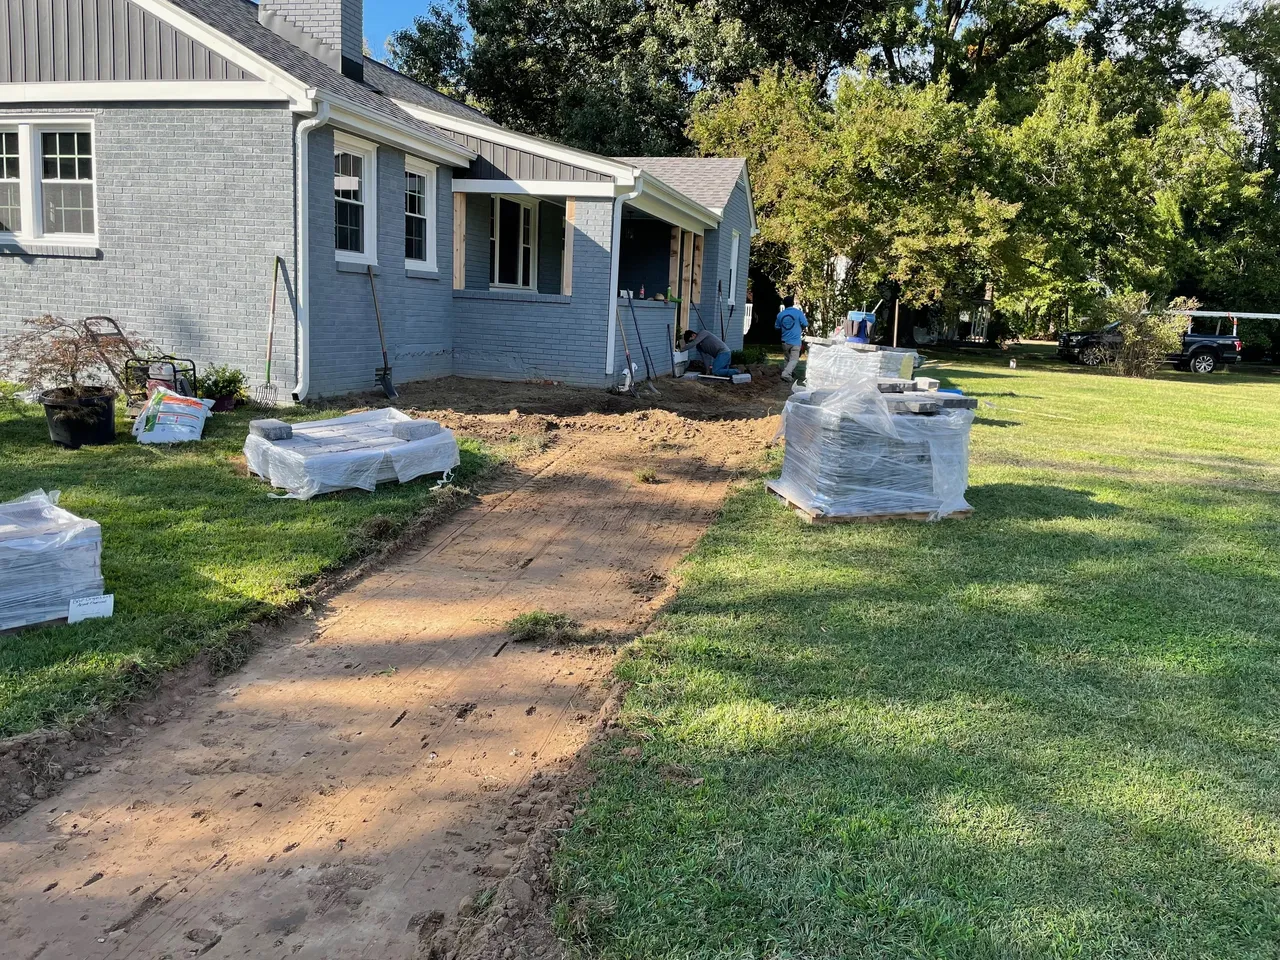
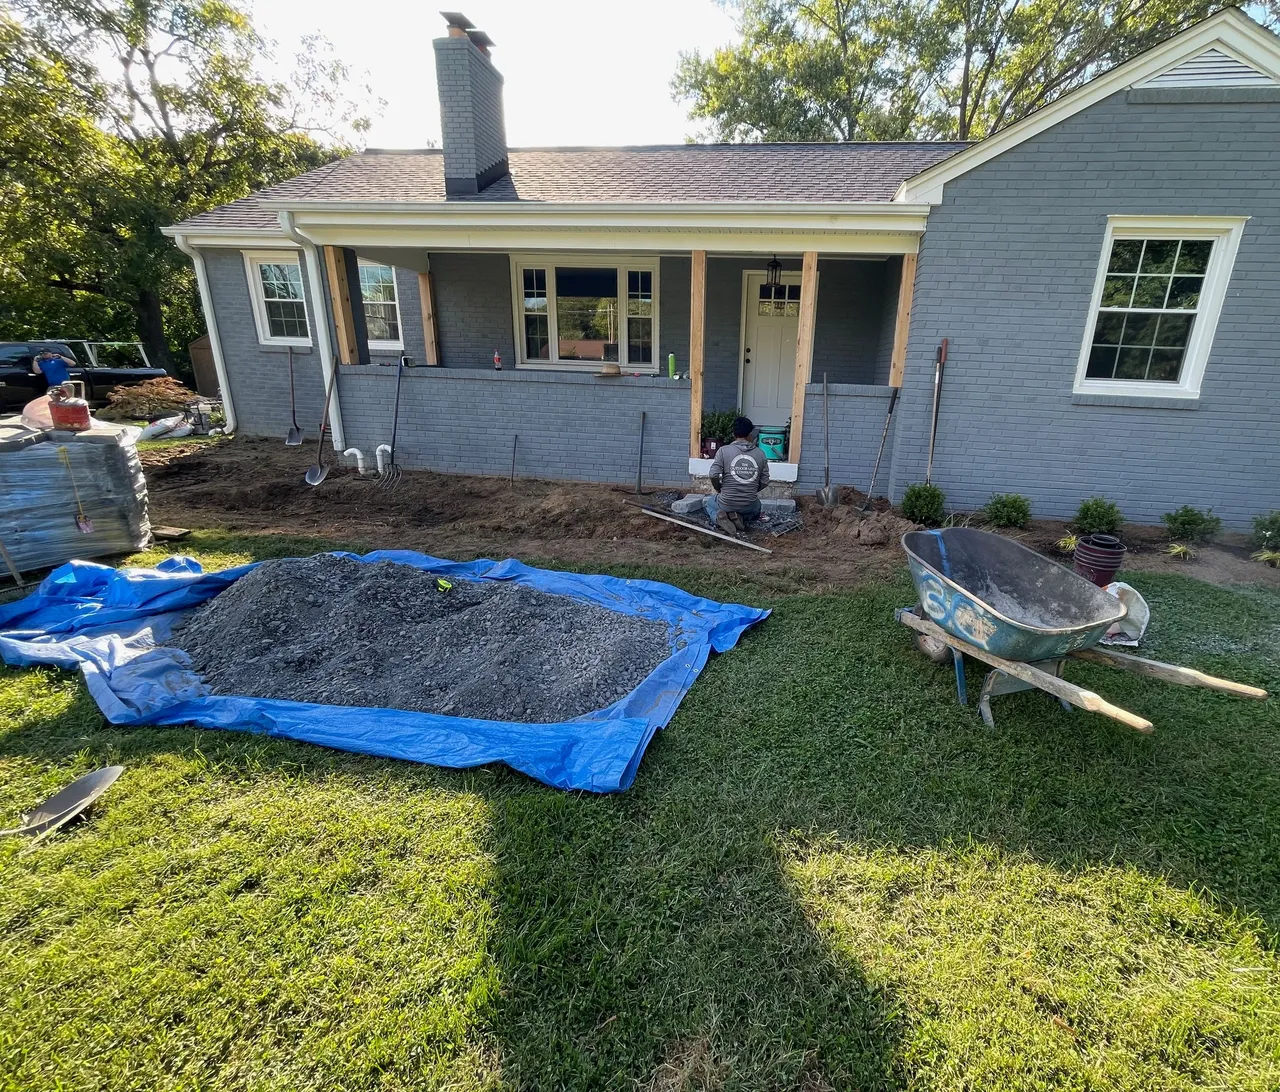
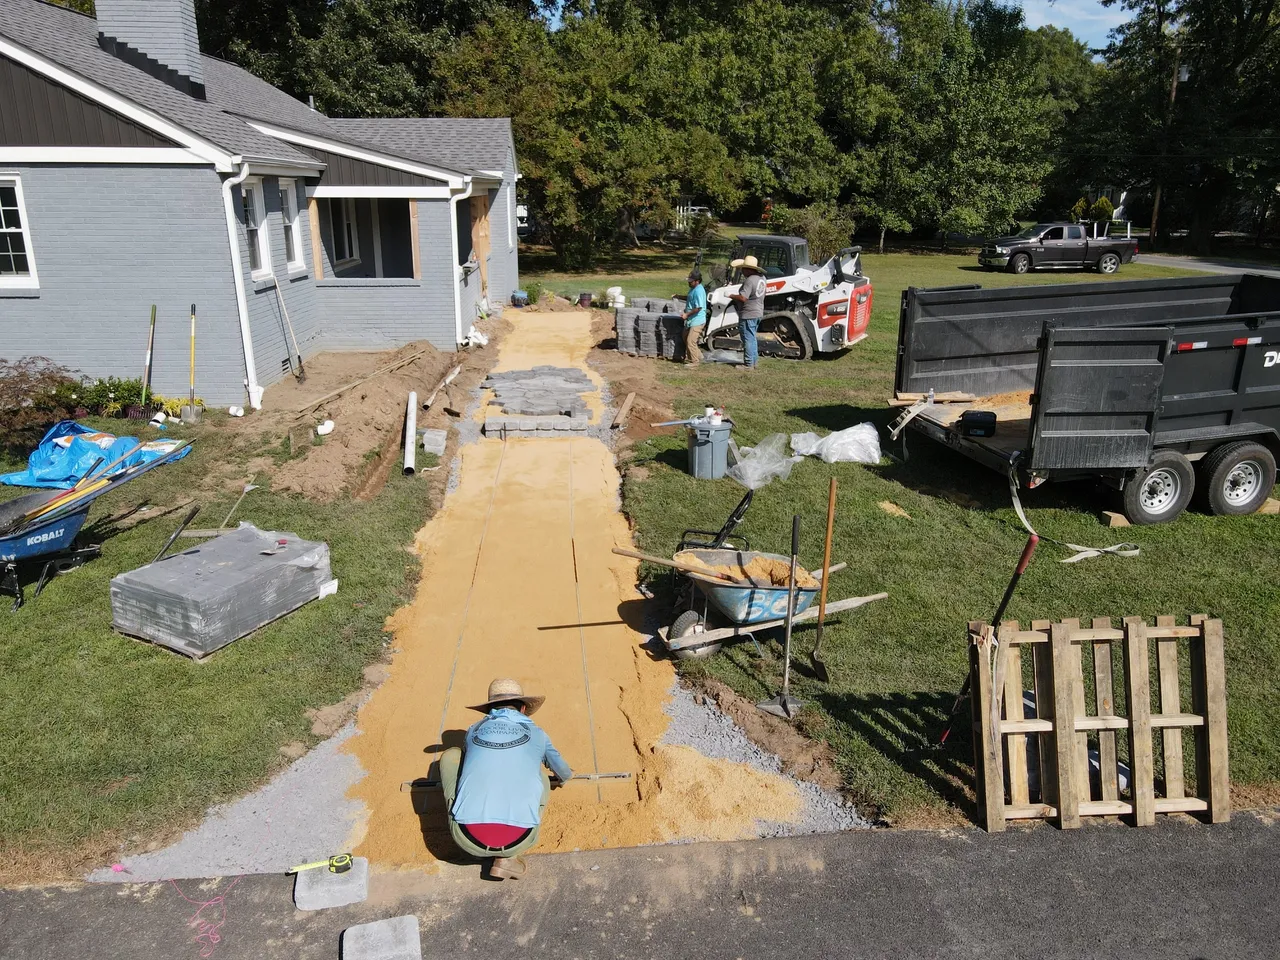
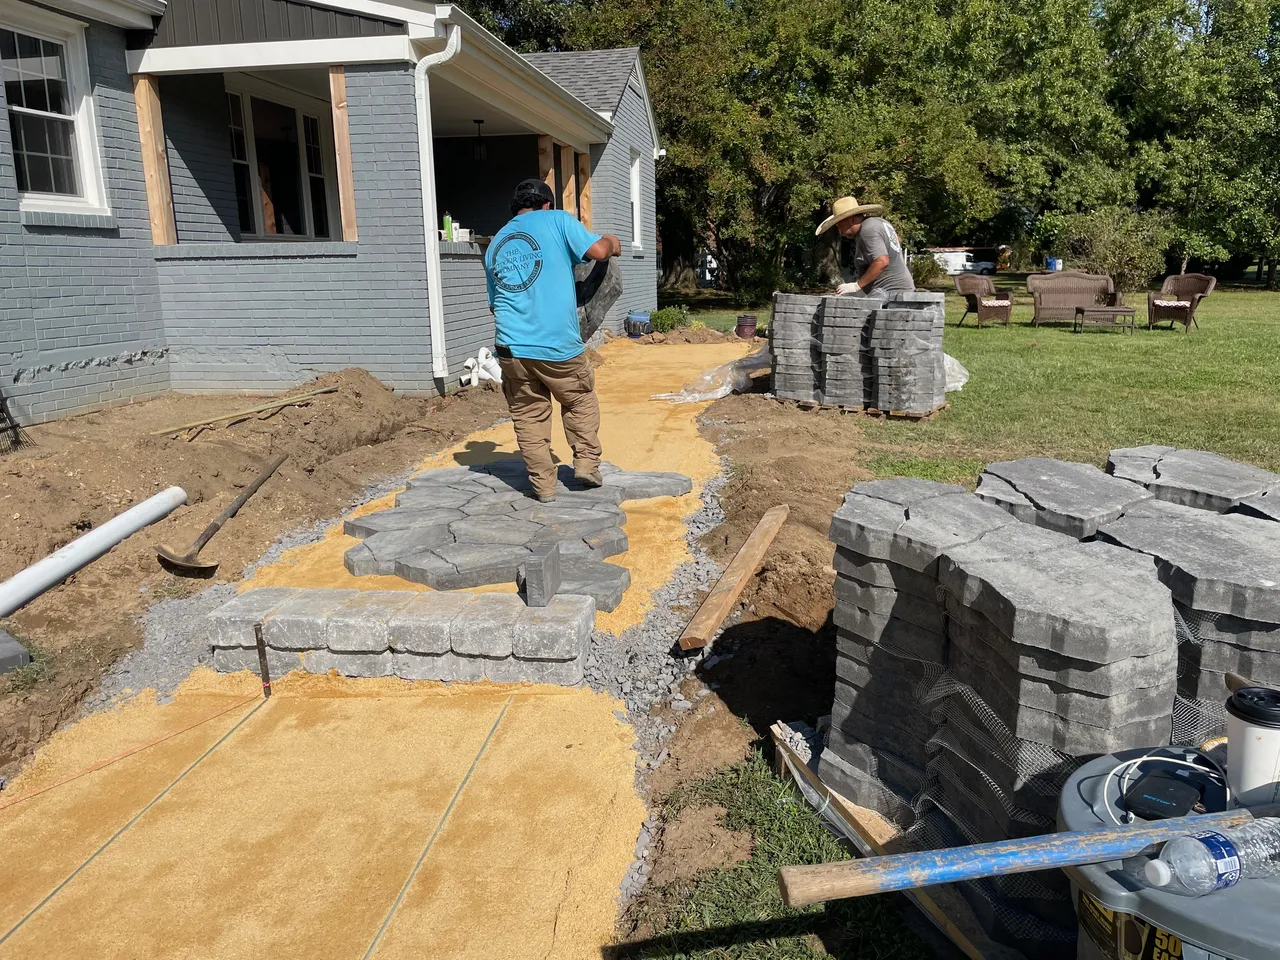
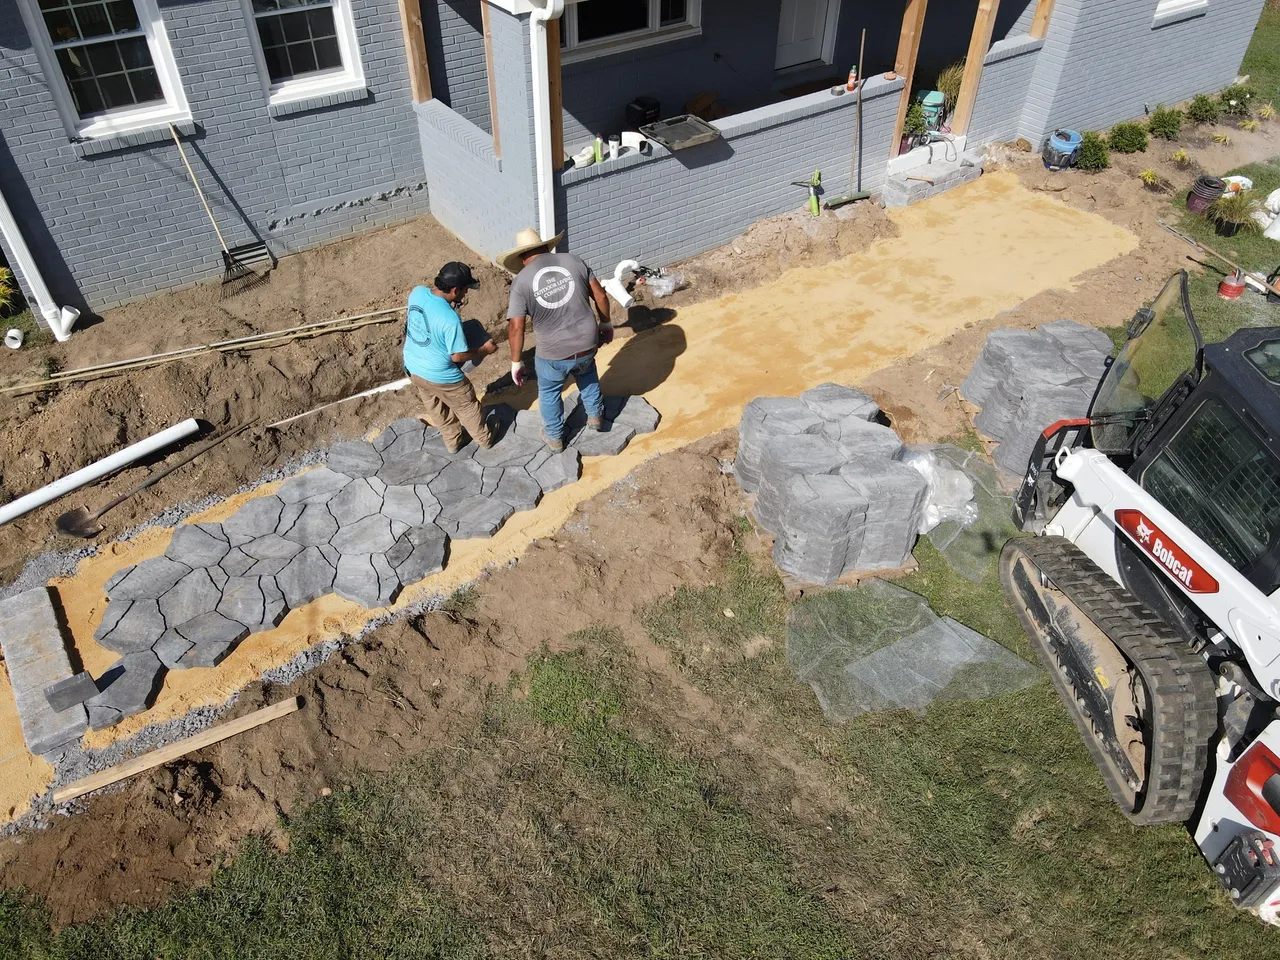
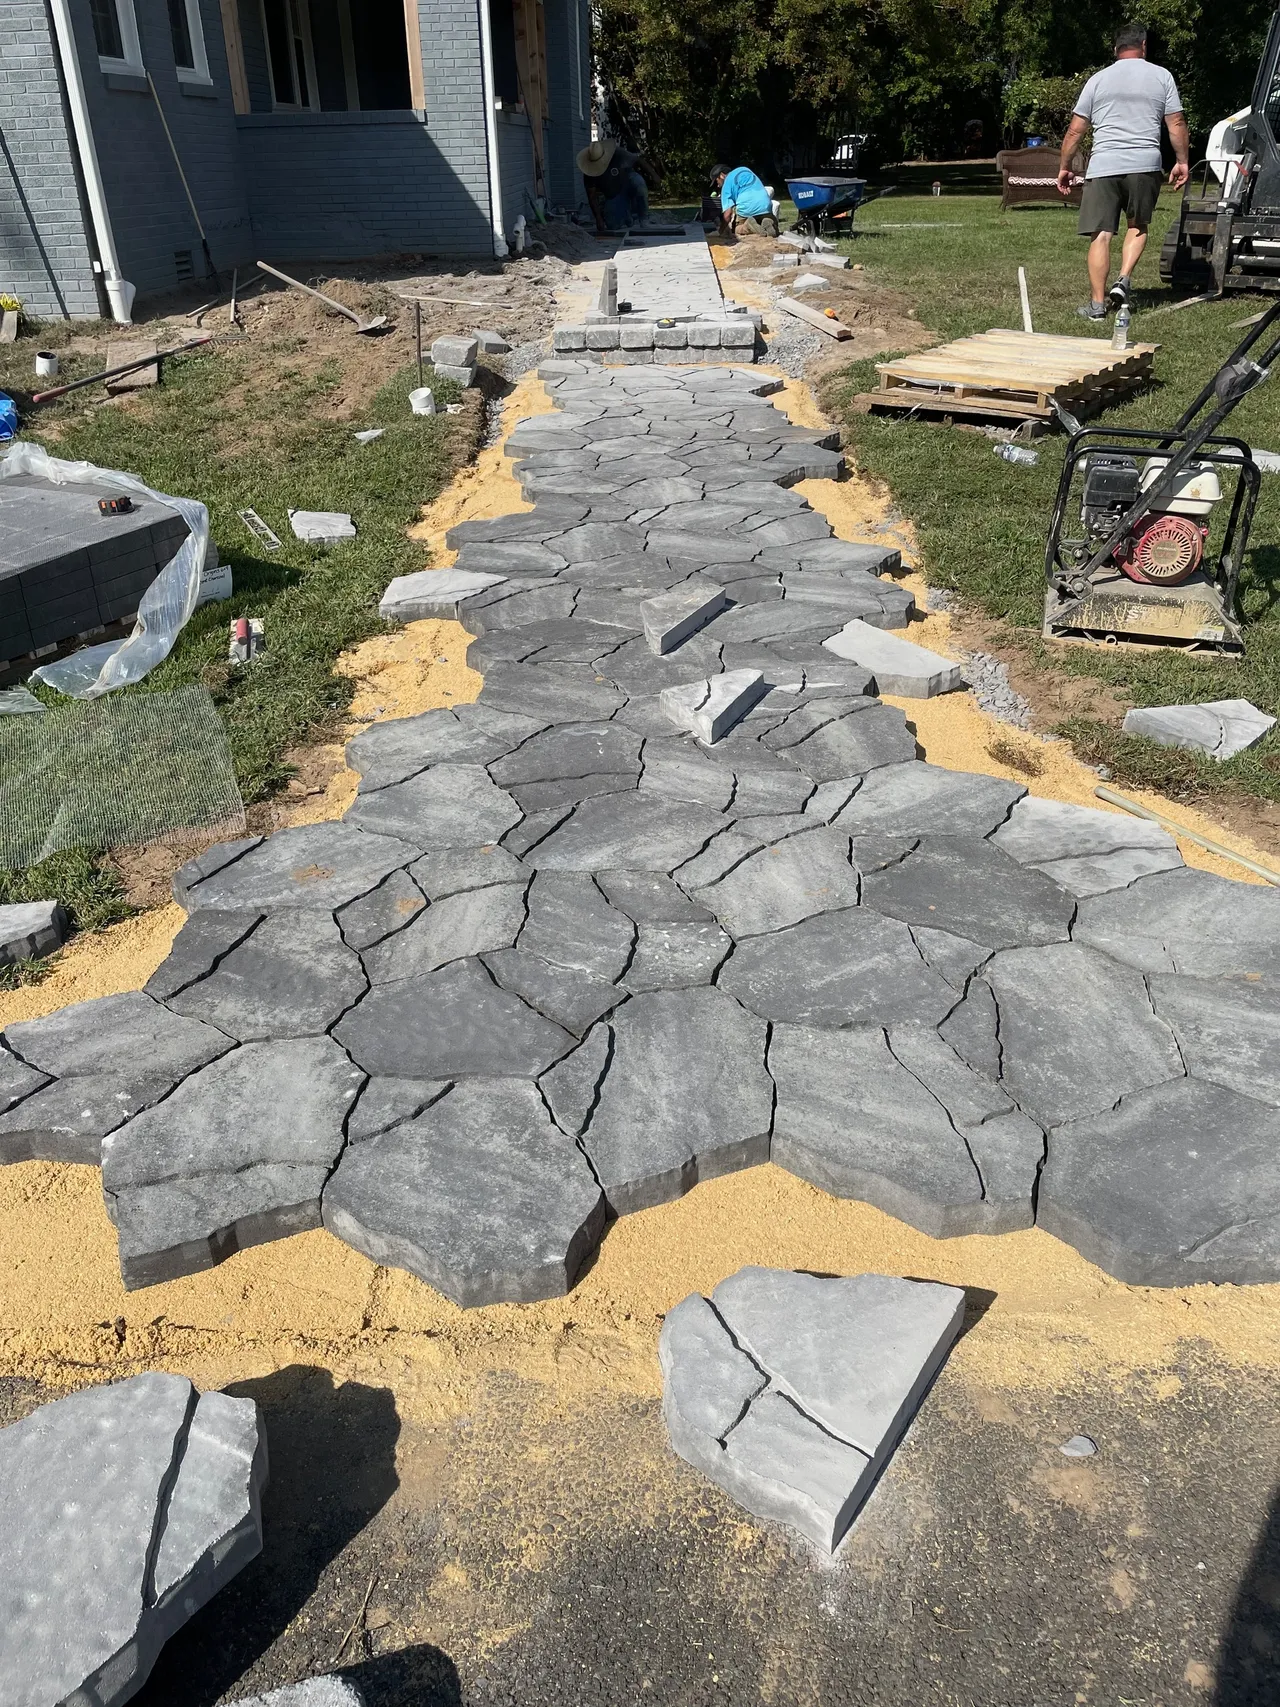
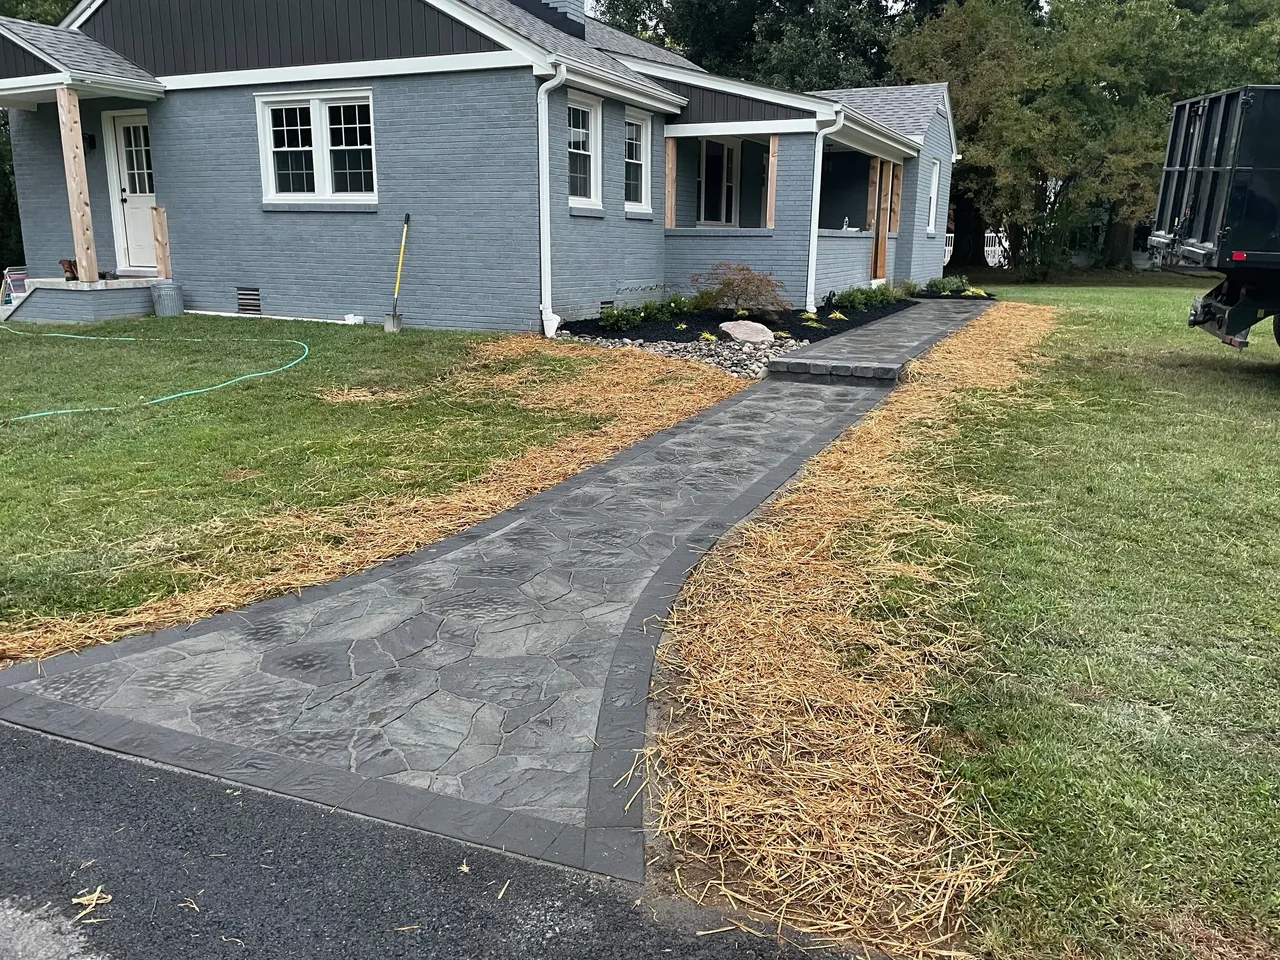
Once the Sand is screeded out, it’s time to LAY PAVERS!!!
Belgard Mega Arbel Pavers are like puzzle pieces and must be put together in the correct pattern to avoid issues. We also recommend pulling the pavers from multiple pallets so the colors are well blended.
… installing more pavers…
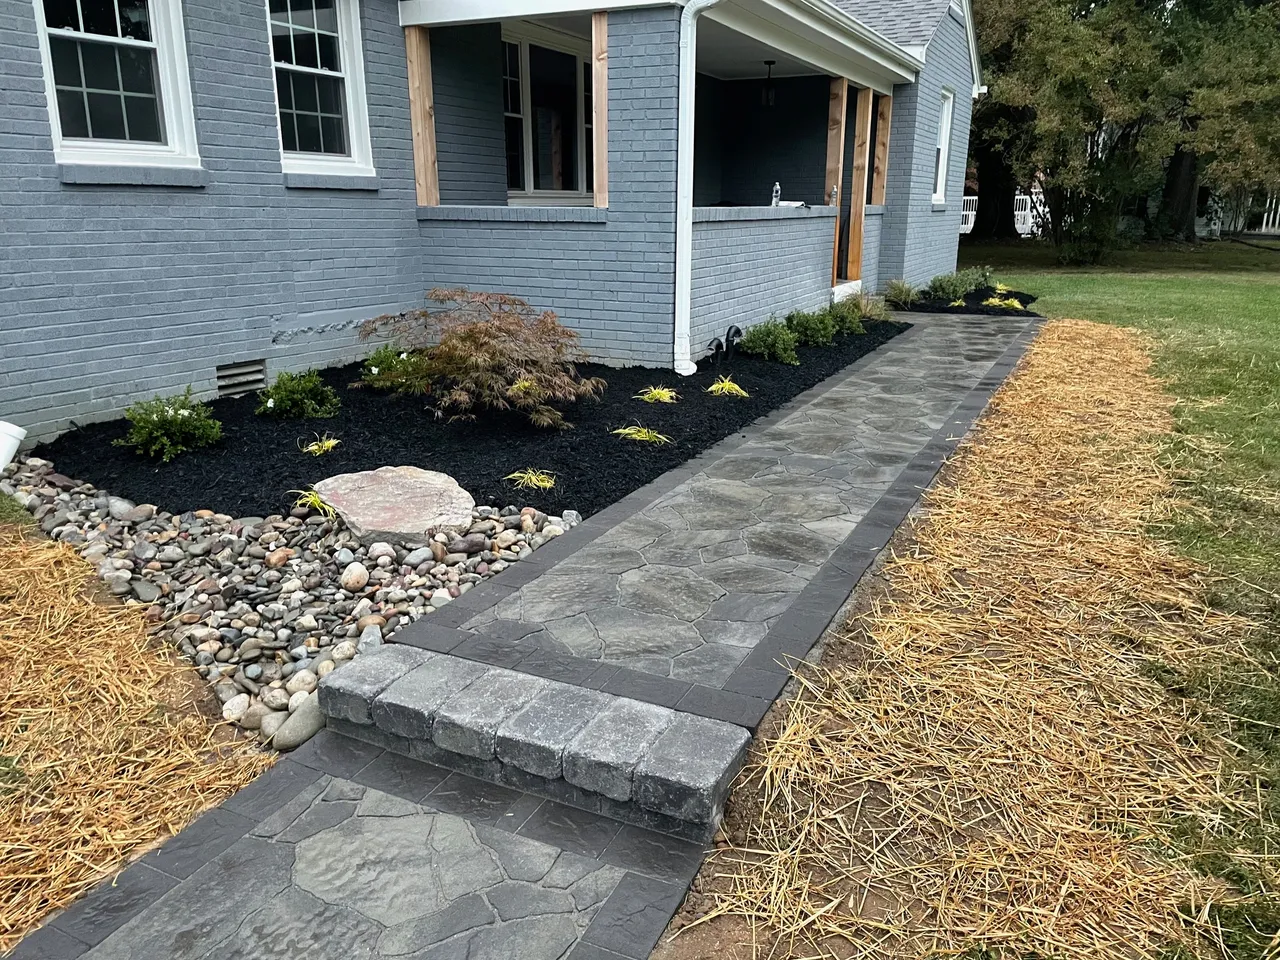
After the Mega Arbel Walkway is laid out slightly larger than we want it, we snap a chalk line where we would like to install our border pavers (Belgard Origins 6″x9″). Once we have a perfectly straight chalk mark, it’s time to cut the Mega Arbel Pavers!
For curves we often use a flexible Fascia Board to mark where to cut (this requires 3 people – 2 people to hold the board and 1 person to mark the pavers).
Once the border pavers are in, it’s time to install our edge. Most people will use a plastic snap edge secured with spikes to hold in their pavers, however we do a portland cement and sand mix called bond beam to secure the edges.
Now that we have our edges secured, we install the Polymeric Sand (a.k.a Polysand). Polymeric Sand gets swept into the gaps between the pavers to lock everything together. Check out this link to learn more about how Polymeric Sand works. We use Techniseal Polymeric Sand.
Once the Polysand is swept between the gaps, we compact the pavers again using our plate compactor with a rubber mat attachment (we use the rubber mat attachment to avoid scuffing the pavers). The compacting of the pavers allowed for the Polysand to drop further down into the gaps… WE NEED MORE POLYSAND!
The next step is to install more Polysand onto our paver walkway (we will be posting a tutorial video of how to install Polysand in the near future). Once we’re done sweeping more polysand into the gaps between the pavers, we use a leaf blower and lightly blow off any residual polysand.
Then we wet down our new paver walkway using the shower setting on a standard hose nozzle … and
VOILA! We have a Paver Walkway!
